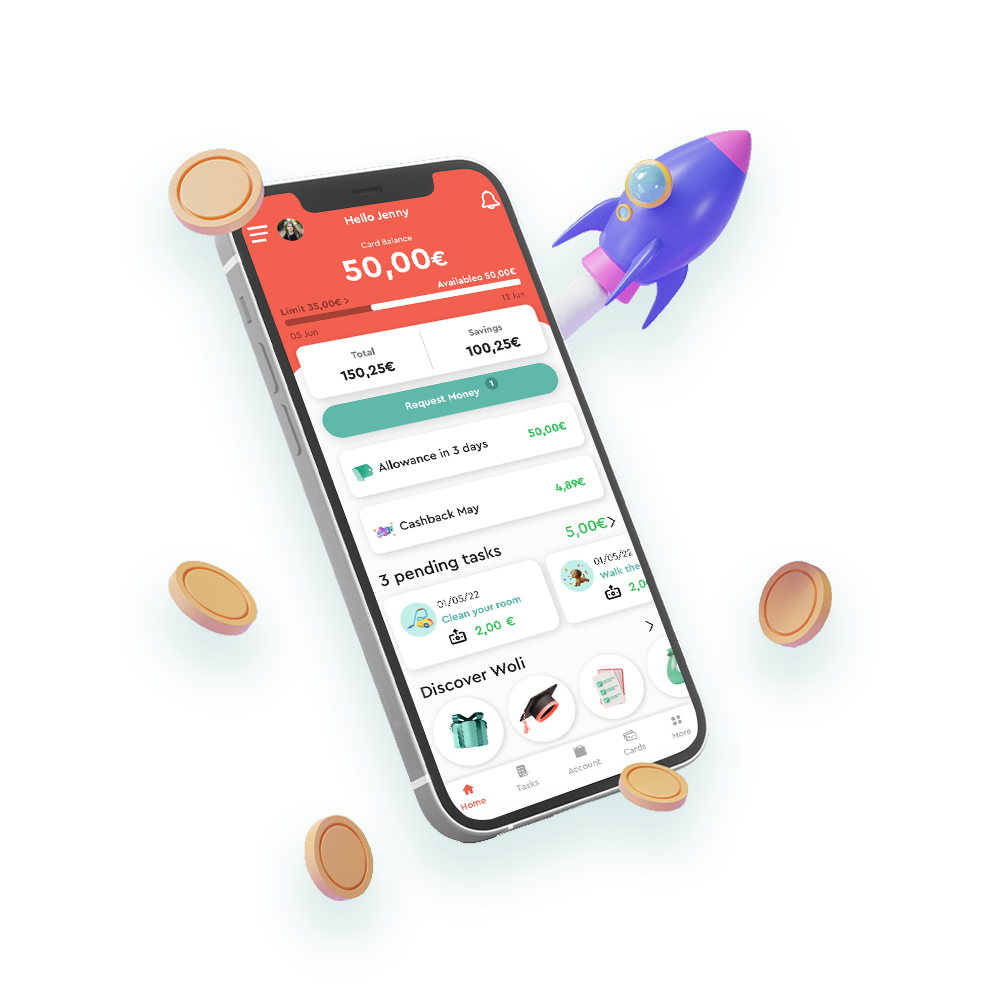
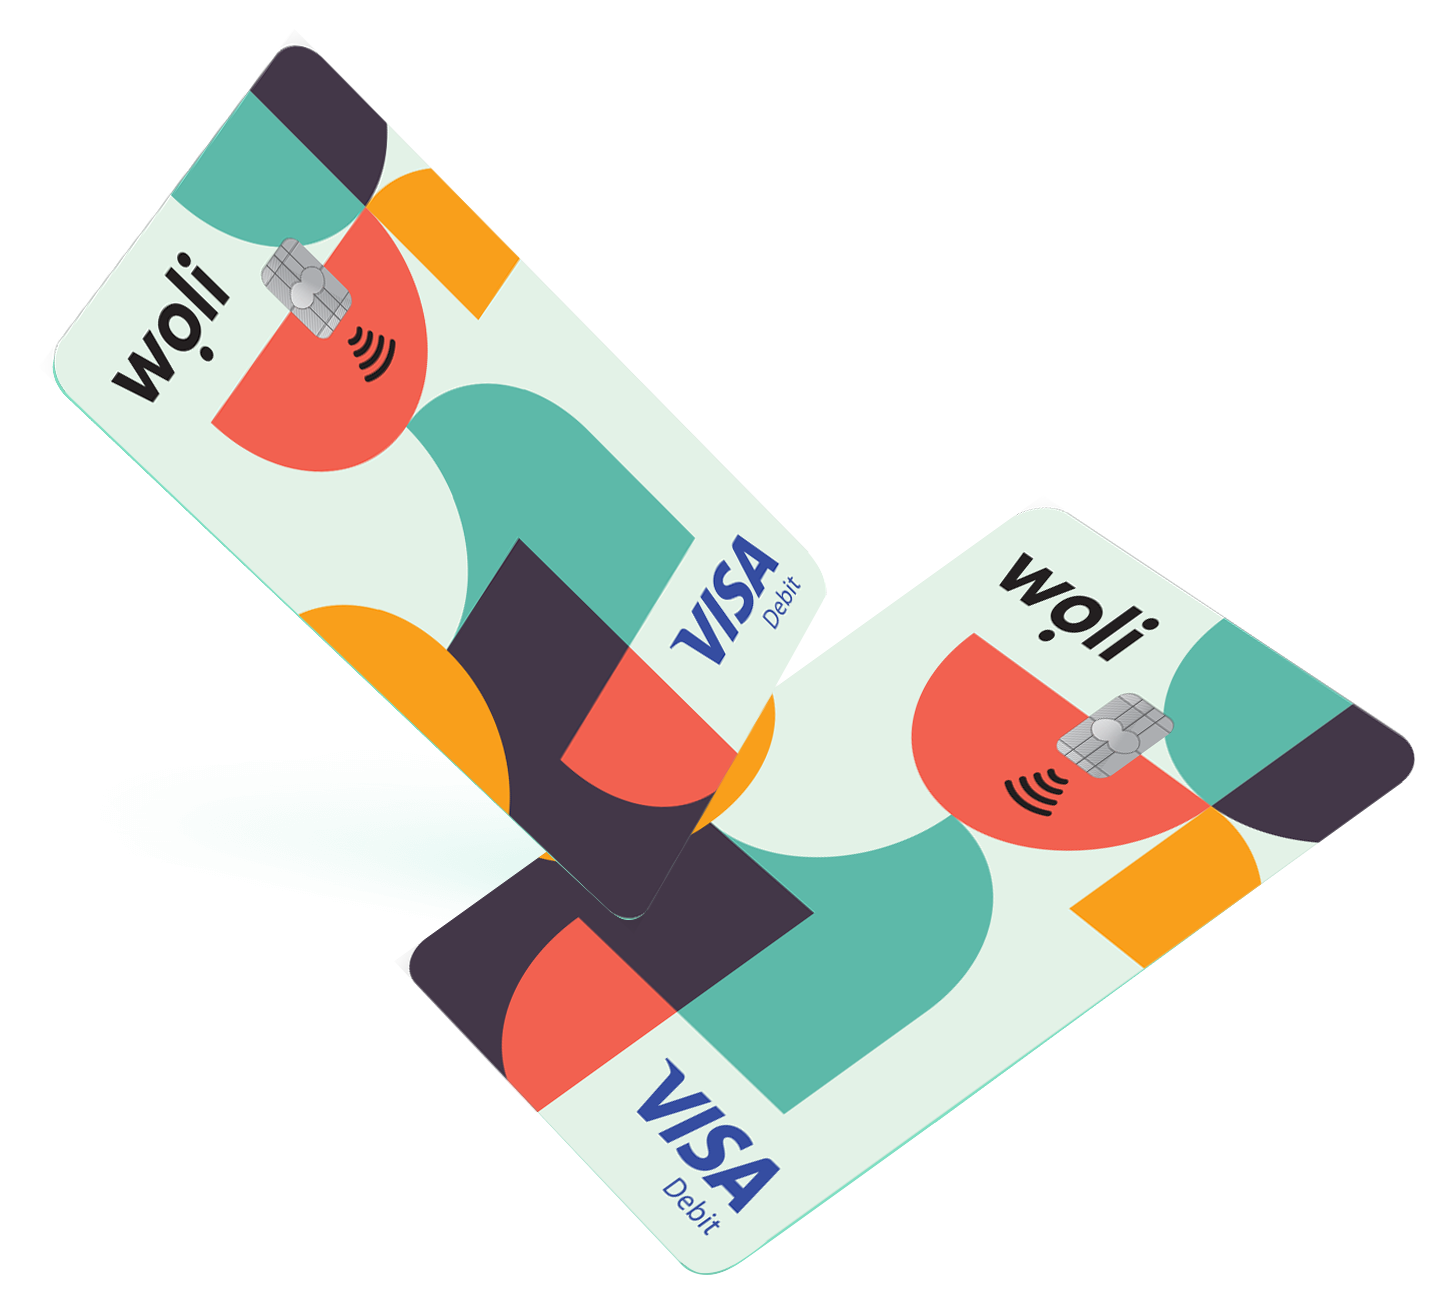
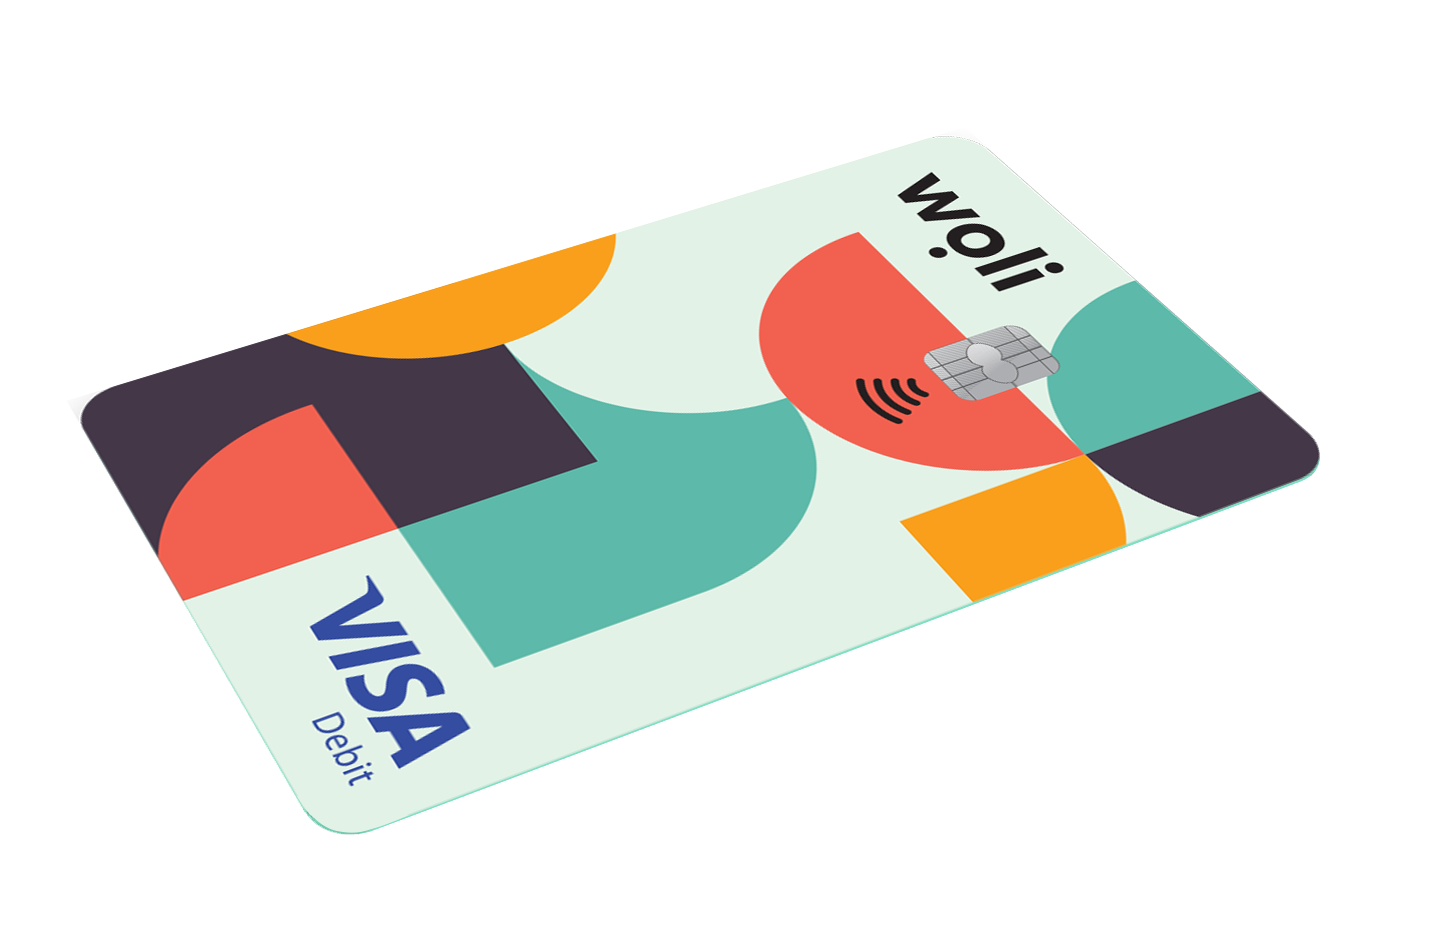
Welcome to Woli, the VISA debit card and mobile app designed to help your child learn how to manage their money properly, always under your supervision. Have you signed in to your account within the Woli app and aren’t sure where to start?
We’ve prepared a short guide for you to activate the basic features that the Woli app gives you, as you’ll see the process is simple and easy!
Getting Started
Step 1: Activate your account
Once you have created your Woli account, to activate it you will need to verify your personal details. The verification process is quick and secure. Upload a copy of your ID or passport to the woli app, take a selfie and that’s it! The process of verifying your details takes 2-5 minutes, and then your account is ready! Remember though that Greek ID cards are not valid if they were issued more than 15 years ago. If your ID is that old then you will need to upload a copy of your passport to the Woli app.
Step 2: Add your child
Follow the steps listed within the app to add your child. Once you complete the process, your child will receive an SMS from Woli on their mobile phone inviting them to download the Woli app. The physical Woli card is automatically ordered the moment your child 1st logs into their Woli account. Until they receive it, your child can add the virtual Woli card to their digital wallet and make transactions with their mobile phone!
Step 3: Add money to your account
In order for your child to be able to make transactions with the Woli card (physical or virtual), you need to top up your Woli account. You can do this from the home screen of your account, using the “Top up” option. There you can link your Woli account to your own debit/credit card or make a bank transfer.
Bonus Tip: Enable the “Auto top-up” service so that when your Woli account balance falls below the amount you choose, money will automatically be transferred to your account from your card. This way you ensure that the payments you have scheduled to be made to your child (auto-allowance, tasks) are properly completed!
Step 4: Activate automatic allowance
With the “automatic allowance” feature, you set how much money you want your child to receive and how often. Do you want your child to get their allowance every week or every month? Do you prefer that they get it on the first days of the month or towards the end? Whatever your preference, with automatic allowance you no longer have to remember when to give your child an allowance, and your child knows how many days before they will get their next allowance, so they learn to plan their spending better.
Step 5: Set spending limits
If you wish, you can set up how much money you want your child to spend in each transaction or per week. You can also exclude certain categories of transactions, such as ATM withdrawals or online transactions.
Step 6: Set a task
In the Woli app we have created the “Tasks” section. From there you can assign your child a small task, such as tidying their room or helping with the shopping, and set a reward for it. Your child learns the concepts of work and reward in a practical way, and small routine tasks become less boring 🙂
Step 7: Add a co-parent!
Yes, you now have the option to manage your child’s path to financial literacy cooperatively with their parent or guardian! Within your Woli app account, select “Family Members” and at the bottom of the next screen select the “Add a co-parent” option. Follow the steps and that’s it!
You’re ready to get started with the Woli app and the unique features you’ll find in it! Haven’t set up your own Woli account yet? Don’t delay, download now the Woli app on Android or iOS, follow the steps to add your child and win 30 days FREE on the premium subscription plan BASIC and the physical Woli card for FREE!


